How To Install Kubuntu 24.04 LTS with Dualboot + UEFI + External Disk Methods
This tutorial will help you install Kubuntu 24.04 LTS “Noble Numbat” to your computer or laptop. Kubuntu is an operating system powered by KDE and Qt technologies, one Official Flavor among many from the Ubuntu GNU/Linux family. Different to previous OS versions, this version features a newly designed installer and despite that affects some points in the installation process, it is still as easy as ever for Kubuntu. As always, we wish you safe and successful installation!
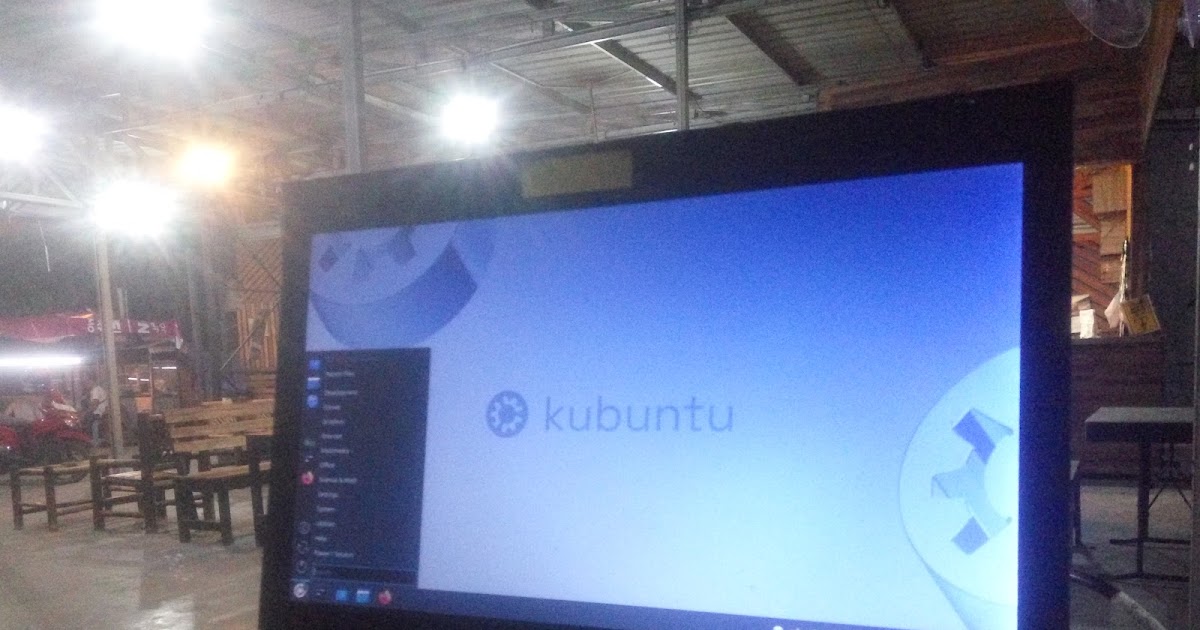
(Kubuntu Noble 2024 running gracefully on our old ThinkPad)
Subscribe to UbuntuBuzz Telegram Channel to get article updates.
Kubuntu is a Free/Libre Open Source Software computer operating system originated from United Kingdom
since 2005 and is an official variant of Ubuntu Desktop with KDE and Qt technologies and branded with blue colors developed by a worldwide community of developers and users working together. Kubuntu is shipped preinstalled on desktop and laptop by computer brand KFocus and other brands just like how Windows and MacOS shipped by hardware manufacturers. Visit the official website https://kubuntu.org.
We can confirm that Kubuntu 24.04 LTS “Noble Numbat” can be installed and run on our relatively older, low-end computer system below:
– Lenovo ThinkPad T430 (from the year 2012 so twelve years old now)
– Intel Core i5 3rd Generation (64-bit)
– Intel HD Graphics
– Intel Centrino wifi card
– 6GB RAM
– 16GB disk using an affordable usb SanDisk CruzerBlade
Which means a newer, better specifications should run Kubuntu 24.04 better than ours.
First, you should have a Kubuntu 24.04 ISO image file. To have a copy, you should download it. Please see our complete listing of Ubuntu 24.04 “Noble Numbat” All Official Flavors. After that, go next preparing an empty disk.
Format a new, unused >=16GB usb flash drive as GPT. You will use this as a hard disk replacement. However, if you are already accustomed to installing GNU/Linux to hard disk instead, you can still follow this tutorial and use your hard disk. After that, go next creating a bootable medium.
Format another >=4GB usb flash drive and then write Kubuntu ISO image into this drive. This is your Kubuntu bootable medium. You can choose to use whatever program you like for this purpose:
– GNOME Disk Utility (read here)
– Unetbootin or Rufus or Balena Etcher (read here)
After that, go next to boot your computer with Kubuntu bootable medium.
Plug your Kubuntu bootable disk in > turn off you computer > turn it on again > quickly enter the BIOS > adjust in the BOOT options that the first medium to boot is USB Flash Disk Drive > Kubuntu 24.04 will boot up > you will see Kubuntu on your screen > go next starting the installer.
Don’t know how?
Read our tutorial on booting your laptop from BIOS/UEFI in step by step.
Please select TRY KUBUNTU when you saw two options on your screen after booting up your Kubuntu bootable.
This way, you will arrive to Kubuntu desktop and be able to run all applications including the most important KDE Partition Manager if you did not format your disk drive yet. You will see a message “Welcome to KDE Plasma” and a button “Next” near it. Just dismiss this welcome screen and proceed.
On desktop, there will be only one item, Install Kubuntu. Please double-click it.
The installer starts. You are ready to install Kubuntu.
— Installation begins —
Start the installer and select English language. Click Next.
Select your country and your city/region to determine timezone. Click Next.
Select English (US) keyboard. Click Next.
Select Normal Installation mode.
Start Disk Partitioning:
5.1 Select the empty disk and select “Manual.” You should see partitioning table of a free disk space.
5.2 Create first partition “EFI.” and set bootloader location.
5.3 Create second partition “SWAP.”
5.4 Create third partition “ROOT.”
5.5 Read and evaluate the final partitioning plan. Below is expected plan if you follow everything in this tutorial correctly. If everything is OK, go next.
Create username and password for yourself.
Read and evaluate carefully the summary. Go next.
Wait for the process to take place. On our system, it finishes in around 30 minutes.
Installation finished and click Done to restart. If system asks you to remove the bootable flash drive, remove it.
Kubuntu 24.04 “Noble Numbat” successfully installed on your computer. Congratulations and happy computing!
— Installation ends —
****
Kubuntu 22.04 “Jammy” Installation Guide
Kubuntu 22.04 “Jammy” Review – Keeping Modern Computing Friendly
Kubuntu 20.04 “Fossa” Installation Guide
Kubuntu 20.04 “Fossa” Review – Familiar Operating System
****
This article is licensed under CC BY-SA 3.0.


